Page 2 :
1.3 AWT Controls and Layout Managers:, 2, , , , , Use of AWT Controls:, Controls are components that allow a user to interact, with his application in various ways—for example; a, commonly used control is the push button., , , , A layout manager automatically positions components, within a container. Thus, the appearance of a window is, determined by a combination of the controls that it, contains and the layout manager used to position them.
Page 3 :
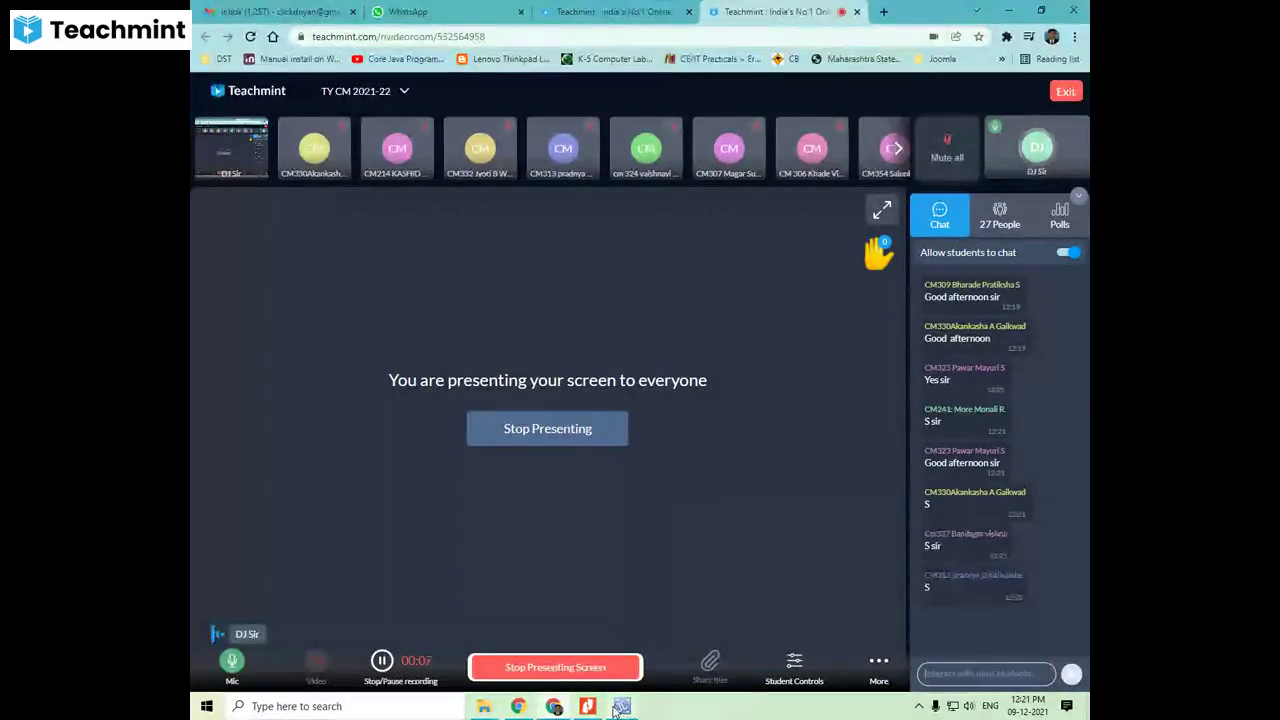
1.3 AWT Controls and Layout Managers:, 3, , , , , Use of AWT Controls:, In addition to the controls, a frame window can also, include a standard-style menu bar. Each entry in a menu, bar activates a drop-down menu of options from which, the user can choose. A menu bar is always positioned at, the top of a window., , , , While it is possible to manually position components, within a window, doing so is quite tedious. The layout, manager automates this task.
Page 4 :
1.3 AWT Controls and Layout Managers:, 4, , , , , Use of AWT Controls: Control Fundamentals, The AWT supports the following types of controls:, , , , , , , , , , , , Labels, Push buttons, Check boxes, Choice lists, Lists, Scroll bars, Text Area, Text Field, , These controls are subclasses of Component.
Page 5 :
1.3 AWT Controls and Layout Managers:, 5, , , , Use of AWT Controls: Adding and Removing, Controls, , , , In order to include a control in a window, we must, add it to the window. So, we must first create an, instance of the desired control and then add it to a, window by calling add(), which is defined by, Container.
Page 6 :
1.3 AWT Controls and Layout Managers:, 6, , , , Use of AWT Controls: Adding and Removing, Controls, , , , The add( ) method signature:, Component add(Component compObj), Here, compObj is an instance of the control that we, want to add. A reference to compObj is returned., Once a control has been added, it will automatically, be visible whenever its parent window is displayed.
Page 7 :
1.3 AWT Controls and Layout Managers:, 7, , , , Use of AWT Controls: Adding and Removing, Controls, , , , Sometimes we will want to remove a control from a, window when the control is no longer needed., , , , For doing this, call remove(). This method is also, defined by Container.
Page 8 :
1.3 AWT Controls and Layout Managers:, 8, , , , Use of AWT Controls: Adding and Removing, Controls, , , , The remove method signature:, void remove(Component obj), Here, obj is a reference to the control that we want to, remove., , , , We can remove all controls by calling removeAll( ).
Page 9 :
1.3 AWT Controls and Layout Managers:, 9, , , , , Use of AWT Controls: Responding to Controls, Except for labels, which are passive controls, all, controls generate events when they are accessed by the, user. For example, when the user clicks on a push, button, an event is sent that identifies the push button., , , , In general, our program simply implements the, appropriate interface and then registers an event, listener for each control that we need to monitor.
Page 10 :
1.3 AWT Controls and Layout Managers:, 10, , , , , Use of AWT Controls: Setting Position to Control, The layout managers are used to automatically decide, the position and size of the added components., , , , In the absence of a layout manager, the position and, size of the components have to be set manually., , , , The setBounds() method is used in such a situation to, set the position and size.
Page 11 :
1.3 AWT Controls and Layout Managers:, 11, , , , , Use of AWT Controls: Setting Position to Control, To specify the position and size of the components, manually, the layout manager of the frame can be null., i.e. setLayout(null).
Page 12 :
1.3 AWT Controls and Layout Managers:, 12, , , , , Use of AWT Controls: Setting Position to Control, setBound() Syntax:, setBounds(int x, int y, int width, int height), The first two arguments are x and y coordinates of, the top-left corner of the component, the third, argument is the width of the component and the fourth, argument is the height of the component.
Page 13 :
1.3 AWT Controls and Layout Managers:, 13, , , , Use of AWT Controls: Setting Position to Control, X axis, , Y axis, , (0,0), , Height, Width
Page 14 :
1.3 AWT Controls and Layout Managers:, 14, , , , , Labels:, The easiest control to use is a label. A label is an object, of type Label, and it contains a string, which it, displays., , , , Labels are passive controls that do not support any, interaction with the user.
Page 15 :
1.3 AWT Controls and Layout Managers:, 15, , , , Labels: Constructors, , , , Label( ) – This constructor creates a blank label., , , , Label(String str)- This constructor creates a label that, contains the string specified by str. This string is leftjustified.
Page 16 :
1.3 AWT Controls and Layout Managers:, 16, , , , , Labels: Constructors, Label(String str, int how)- This constructor creates a, label that contains the string specified by str using the, alignment specified by how., , , , The value of how must be one of these three constants:, Label.LEFT, Label.RIGHT, Label.CENTER
Page 17 :
1.3 AWT Controls and Layout Managers:, 17, , , , , Labels: Methods, We can set or change the text in a label by using the, setText( ) method. We can obtain the current label by, calling getText( )., void setText(String str), String getText( )
Page 18 :
1.3 AWT Controls and Layout Managers:, 18, , , , , Labels: Methods, We can set the alignment of the string within the label, by calling setAlignment(). To obtain the current, alignment, call getAlignment( )., void setAlignment(int how), int getAlignment( )
Page 19 :
1.3 AWT Controls and Layout Managers:, 19, , , , Labels: Example, , (50,50), 30, 100
Page 20 :
1.3 AWT Controls and Layout Managers:, 20, , , , Buttons:, , , , The most widely used control is the push button., , , , A push button is a component that contains a label and, that generates an event when it is pressed., , , , Push buttons are objects of type Button
Page 21 :
1.3 AWT Controls and Layout Managers:, 21, , , , Buttons: Constructors, , , , Button( ) – This constructor creates an empty button., , , , Button(String str) – This constructor creates a button, that contains str as a label.
Page 22 :
1.3 AWT Controls and Layout Managers:, 22, , , , Buttons: Methods, , , , String getLabel()-Gets the label of this button., , , , void setLabel(String str)-Sets the button's label to be, the specified string str., , , , String getActionCommand()-Returns the command, name of the action event fired by this button., , , , void setActionCommand(String command)- Sets the, command name for the button.
Page 23 :
1.3 AWT Controls and Layout Managers:, 23, , , , , Handling Buttons:, Each time a button is pressed, an action event is, generated. This is sent to any listeners that previously, registered an interest in receiving action event, notifications from that component., , , , Each listener implements the ActionListener interface., That interface defines the actionPerformed( ) method,, which is called when an event occurs.
Page 24 :
1.3 AWT Controls and Layout Managers:, 24, , , , , Handling Buttons:, An ActionEvent object is supplied as the argument to, this method. It contains both a reference to the button, that generated the event and a reference to the string, that is the label of the button., , , , To register a Button for listener as:, btnObj.addActionListener(this);
Page 26 :
1.3 AWT Controls and Layout Managers:, 26, , , , Buttons: Example